
Traditionally, the role of a location manager is tied to a single location, enabling the local service team to oversee reservations, visits, and other location-specific activities. The location manager can make, cancel, or modify reservations at their designated location but does not have access to broader administrative functions like managing users, integrations, and assets.
Responding to client feedback, we now offer the capability to assign multiple locations to a single location manager.
Please note that only administrators can create user groups and add location groups.
To set up this feature, follow these steps:
1. Create a Location Group
Navigate to Location groups in officeAdmin and establish a new group for the locations your location manager will oversee.
2. Assign Locations
Add the desired locations to this newly created location group.
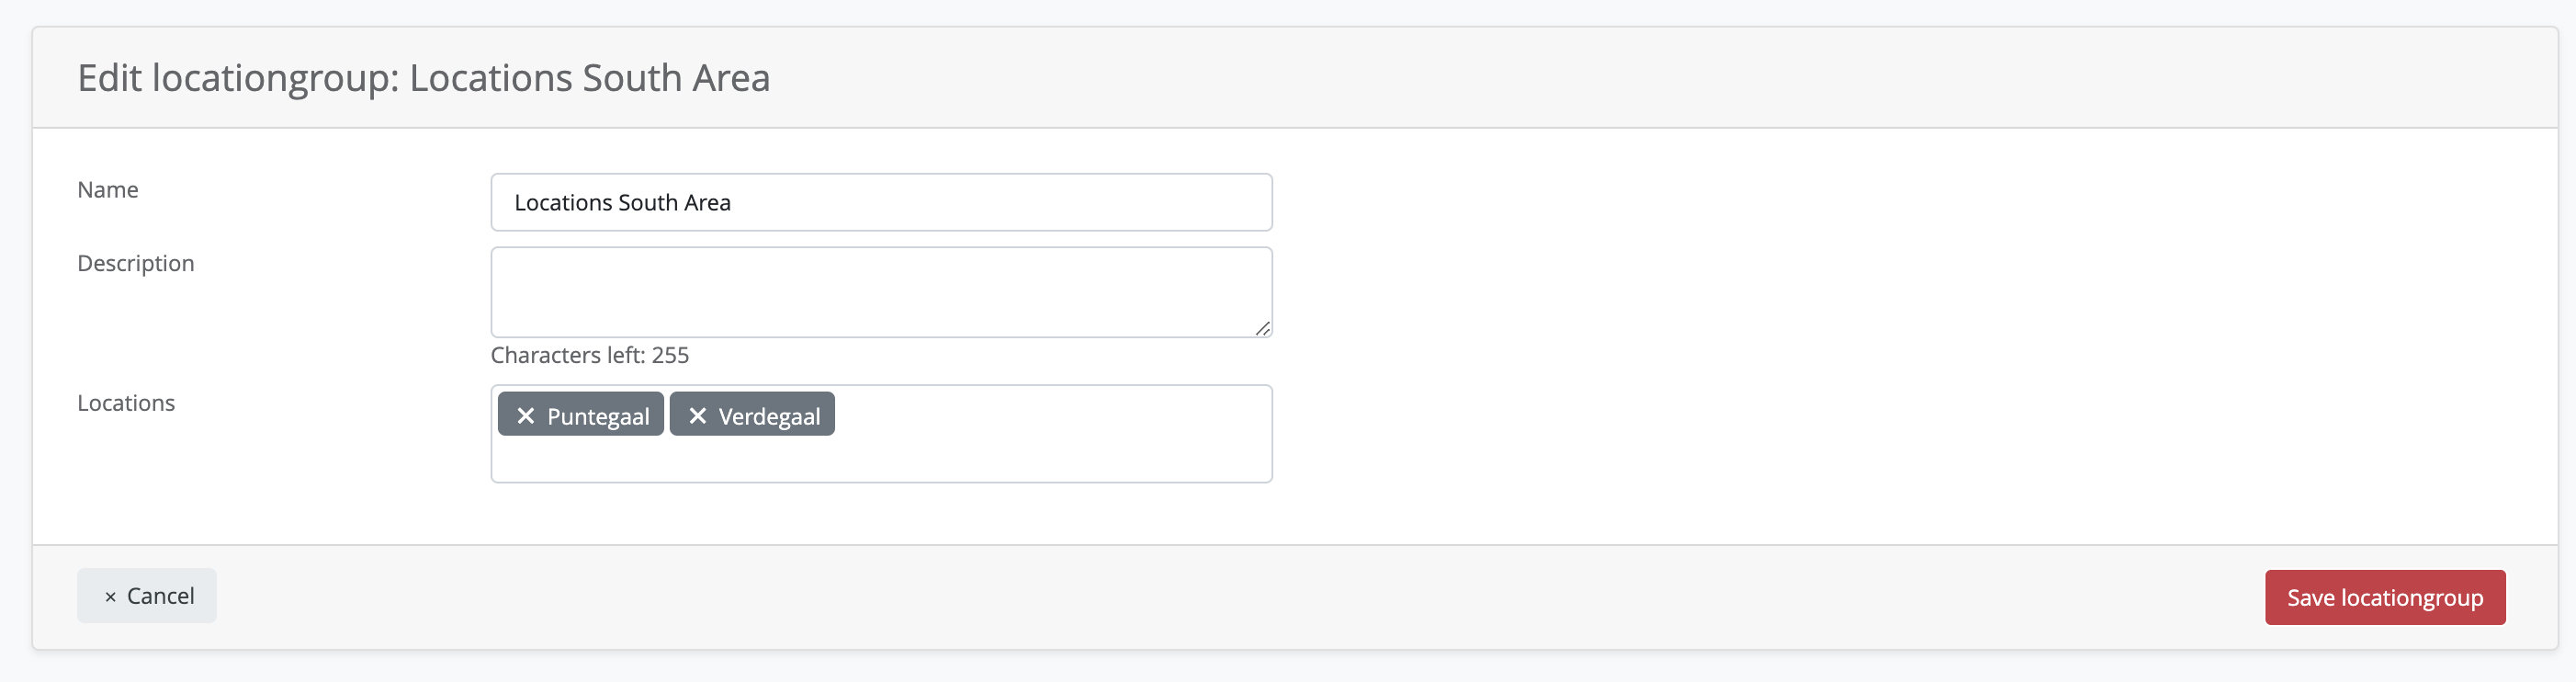
3. Save the Location Group
Confirm and save your settings for the location group.
4. Manage User Groups
Create a new user group specifically for your location managers, or modify an existing one.
5. Add Users
Include any users who require access to this group. Ensure these users are assigned the role of ‘location manager’.
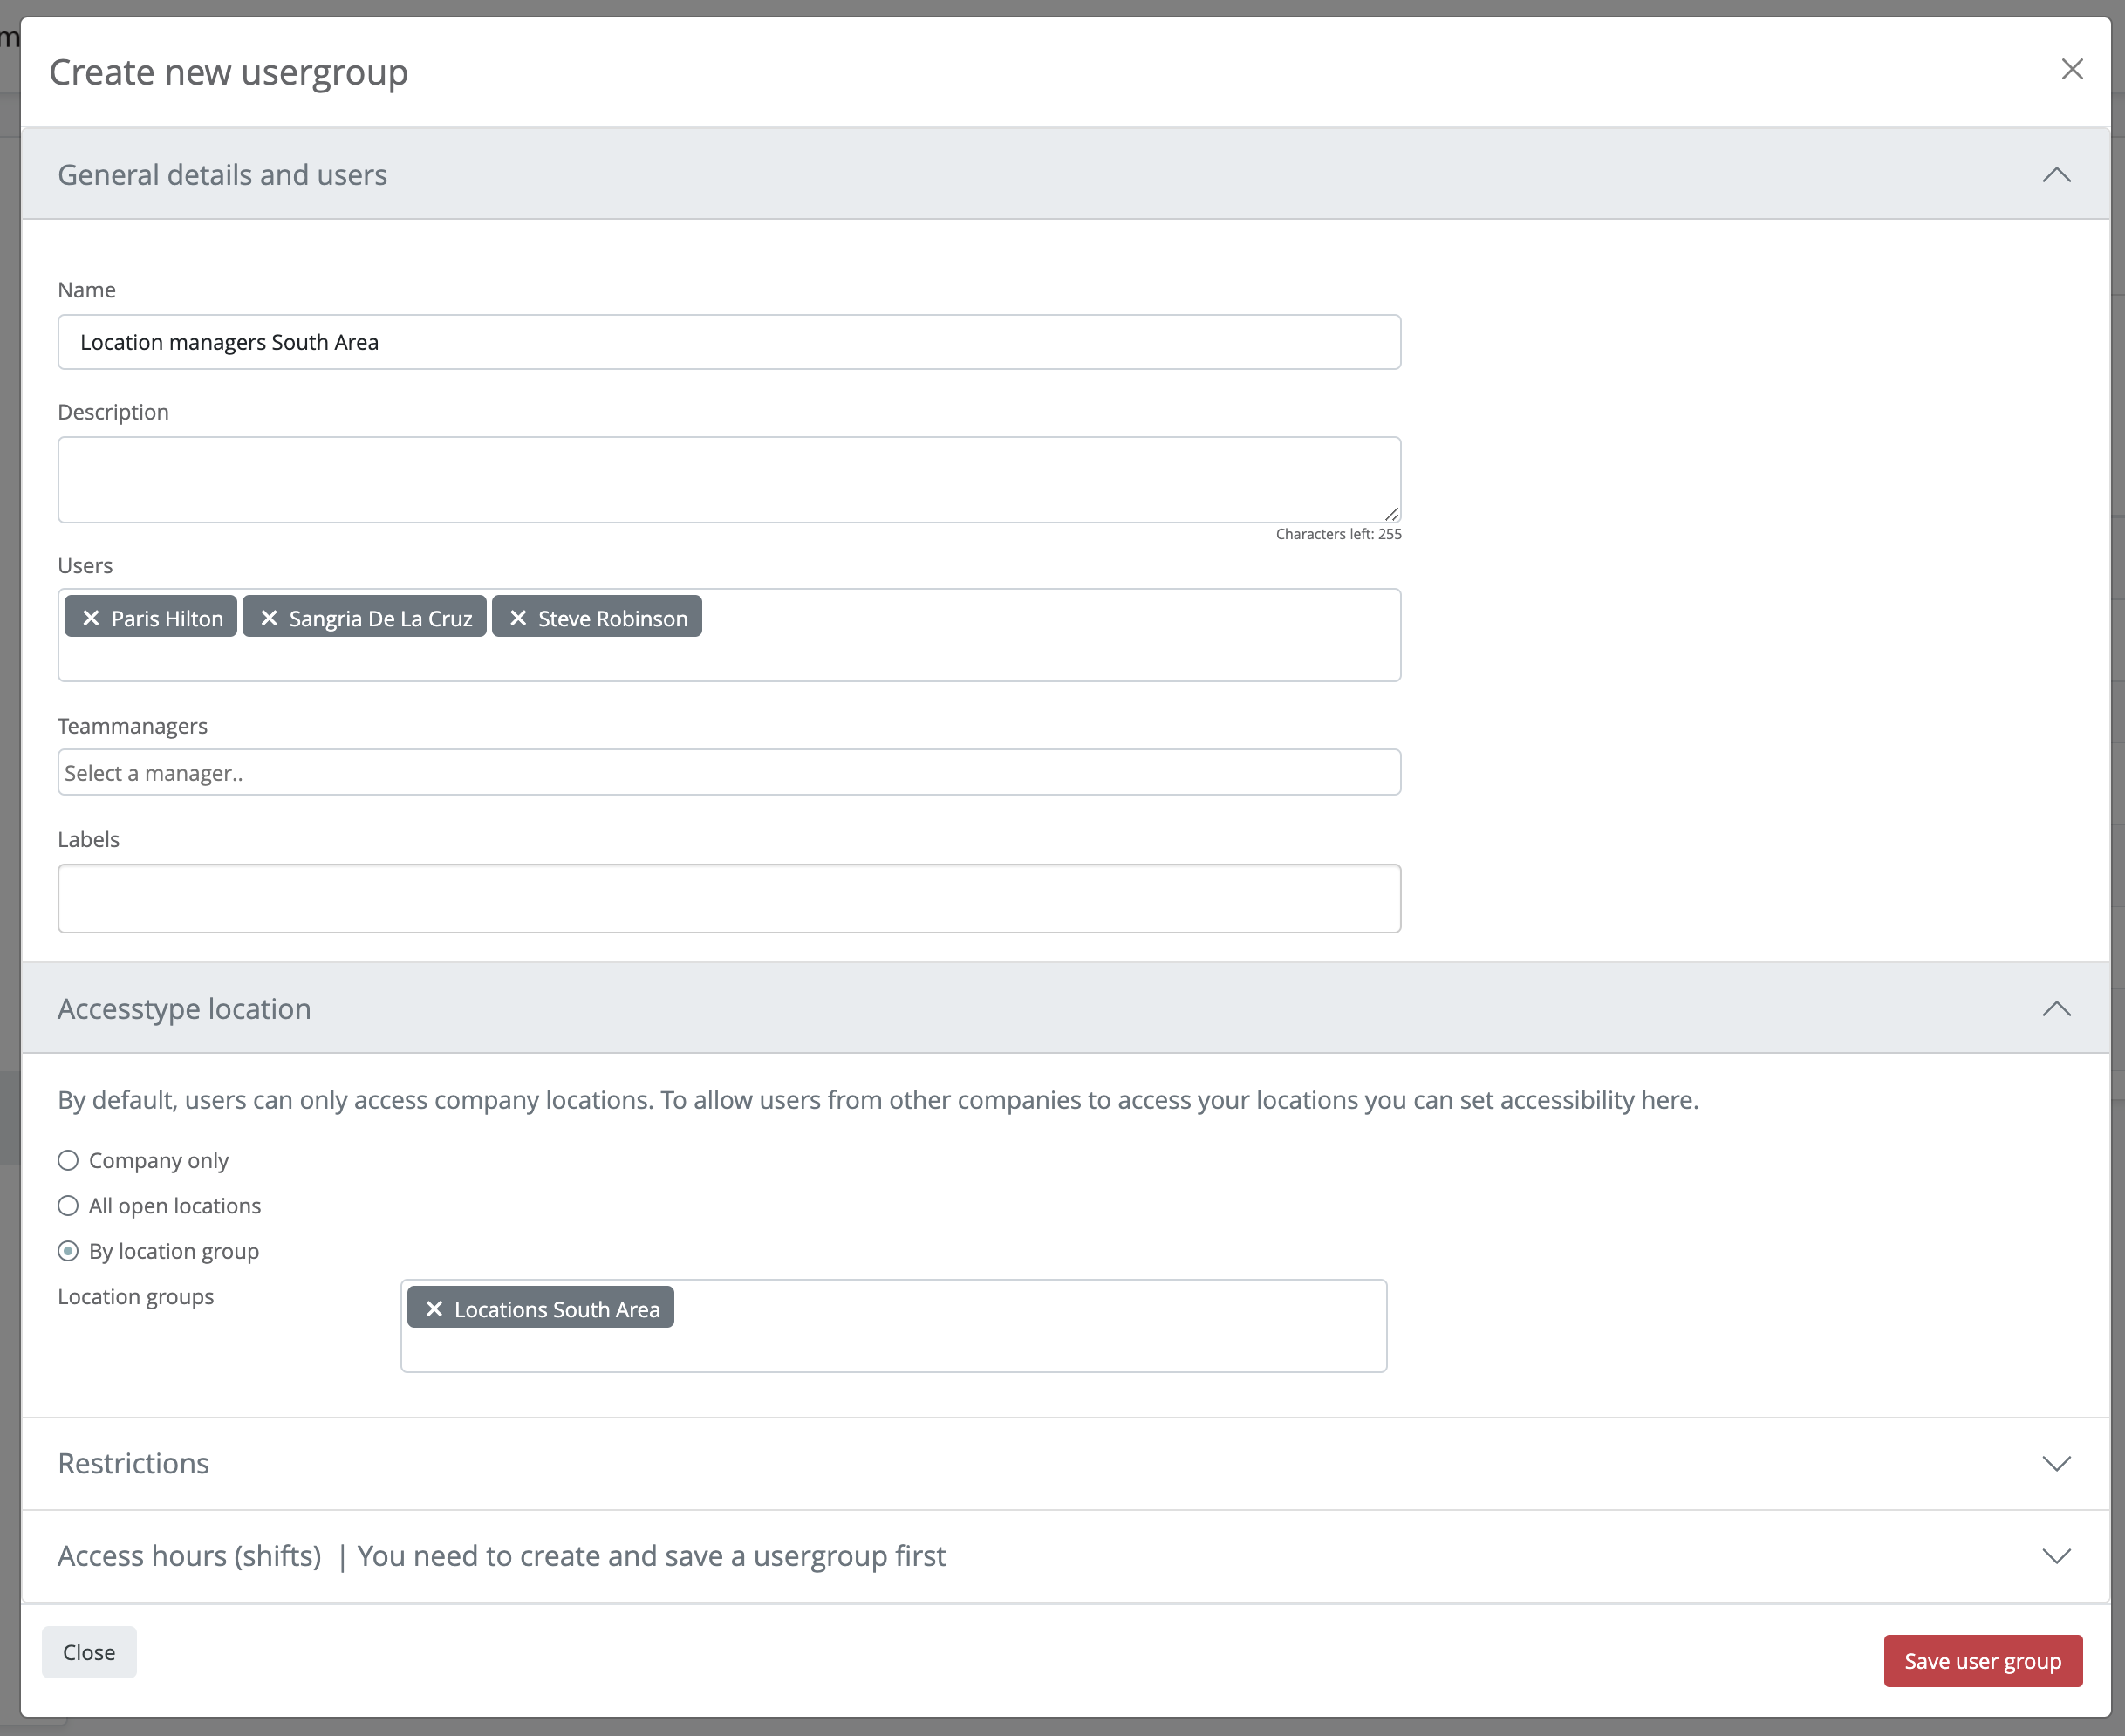
6. Configure Access
Select the ‘Access Type: Location’ option and choose ‘By location group’. Then, add the location group you created.
7. Finalize User Group Settings
Save the settings for your user group.
Your location managers will now have access to all the locations within their group through the OfficeAdmin view. Please remind them to refresh their browser view to see the updates.