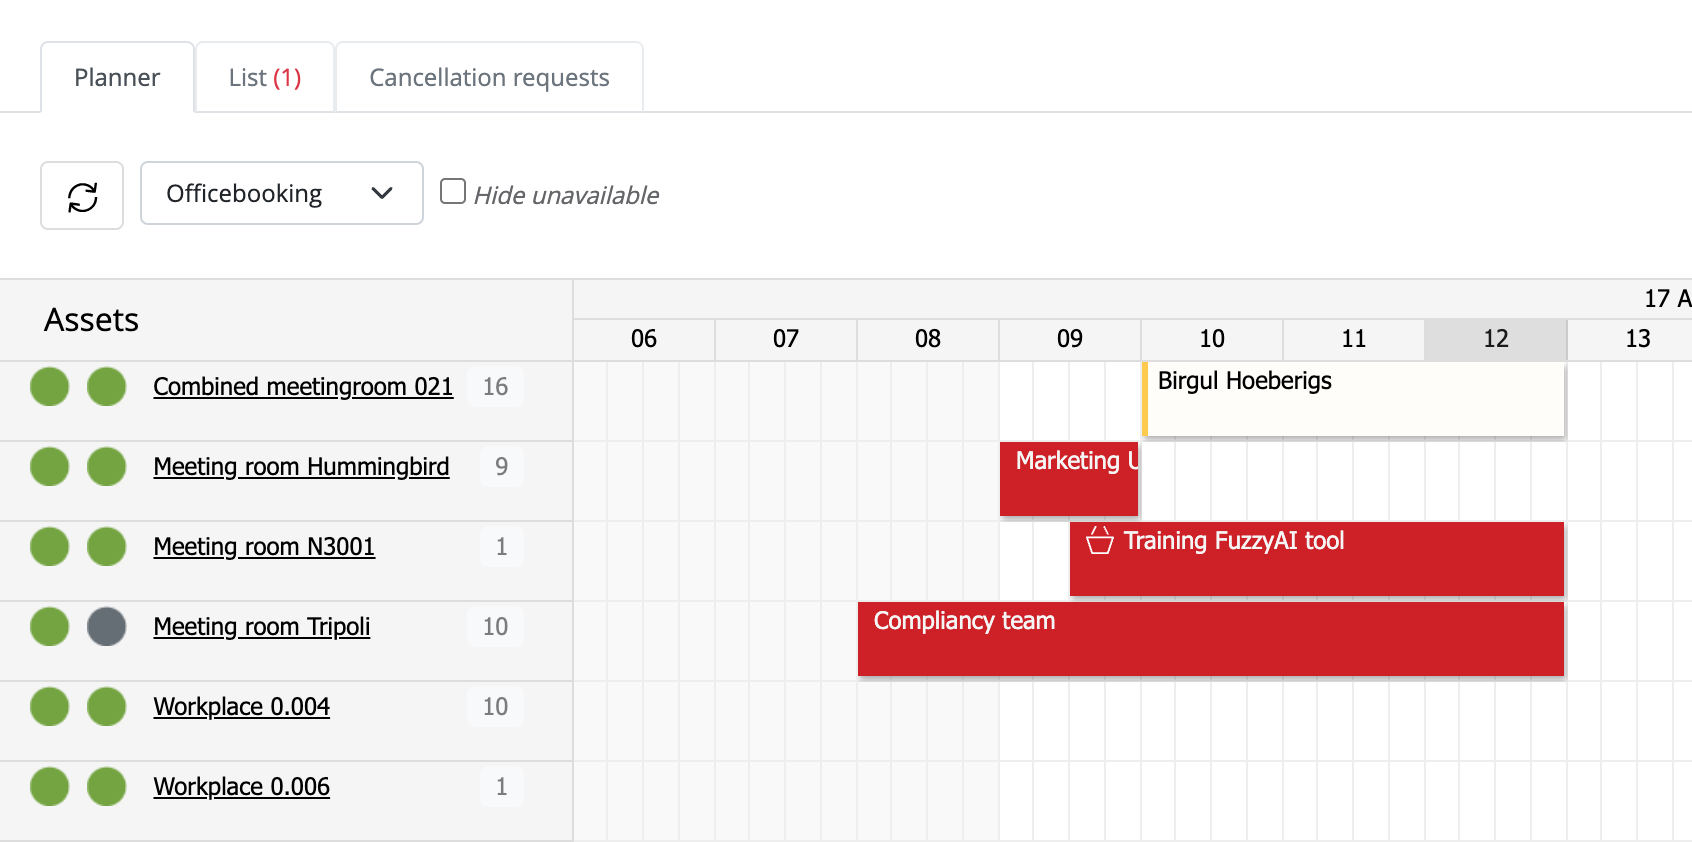
Do you have an asset, such as a car or a large conference room, that should require approval before it can be booked? You can set up a reservation request rule for that asset. Instead of confirming immediately, the reservation is submitted as a request: super users or regular users can request the reservation, but a location manager or admin must approve it before it’s confirmed.
Request rules can be applied in two ways:
- To a specific asset: for example, a pool car that needs manager sign-off every time it’s booked.
- Based on a booking rule: for example, requiring approval for a conference room booking only when the number of attendees exceeds 30, so smaller meetings can still be booked instantly while larger events get reviewed first.
Set a reservation request rule for a specific asset
- Navigate to Assets in the main menu.
- Select the asset for which you want to require approval.
- Click Edit.
- Scroll down to Reservation settings.
- Select Default to booking request.
- Click Save to apply the changes.
Set a booking rule
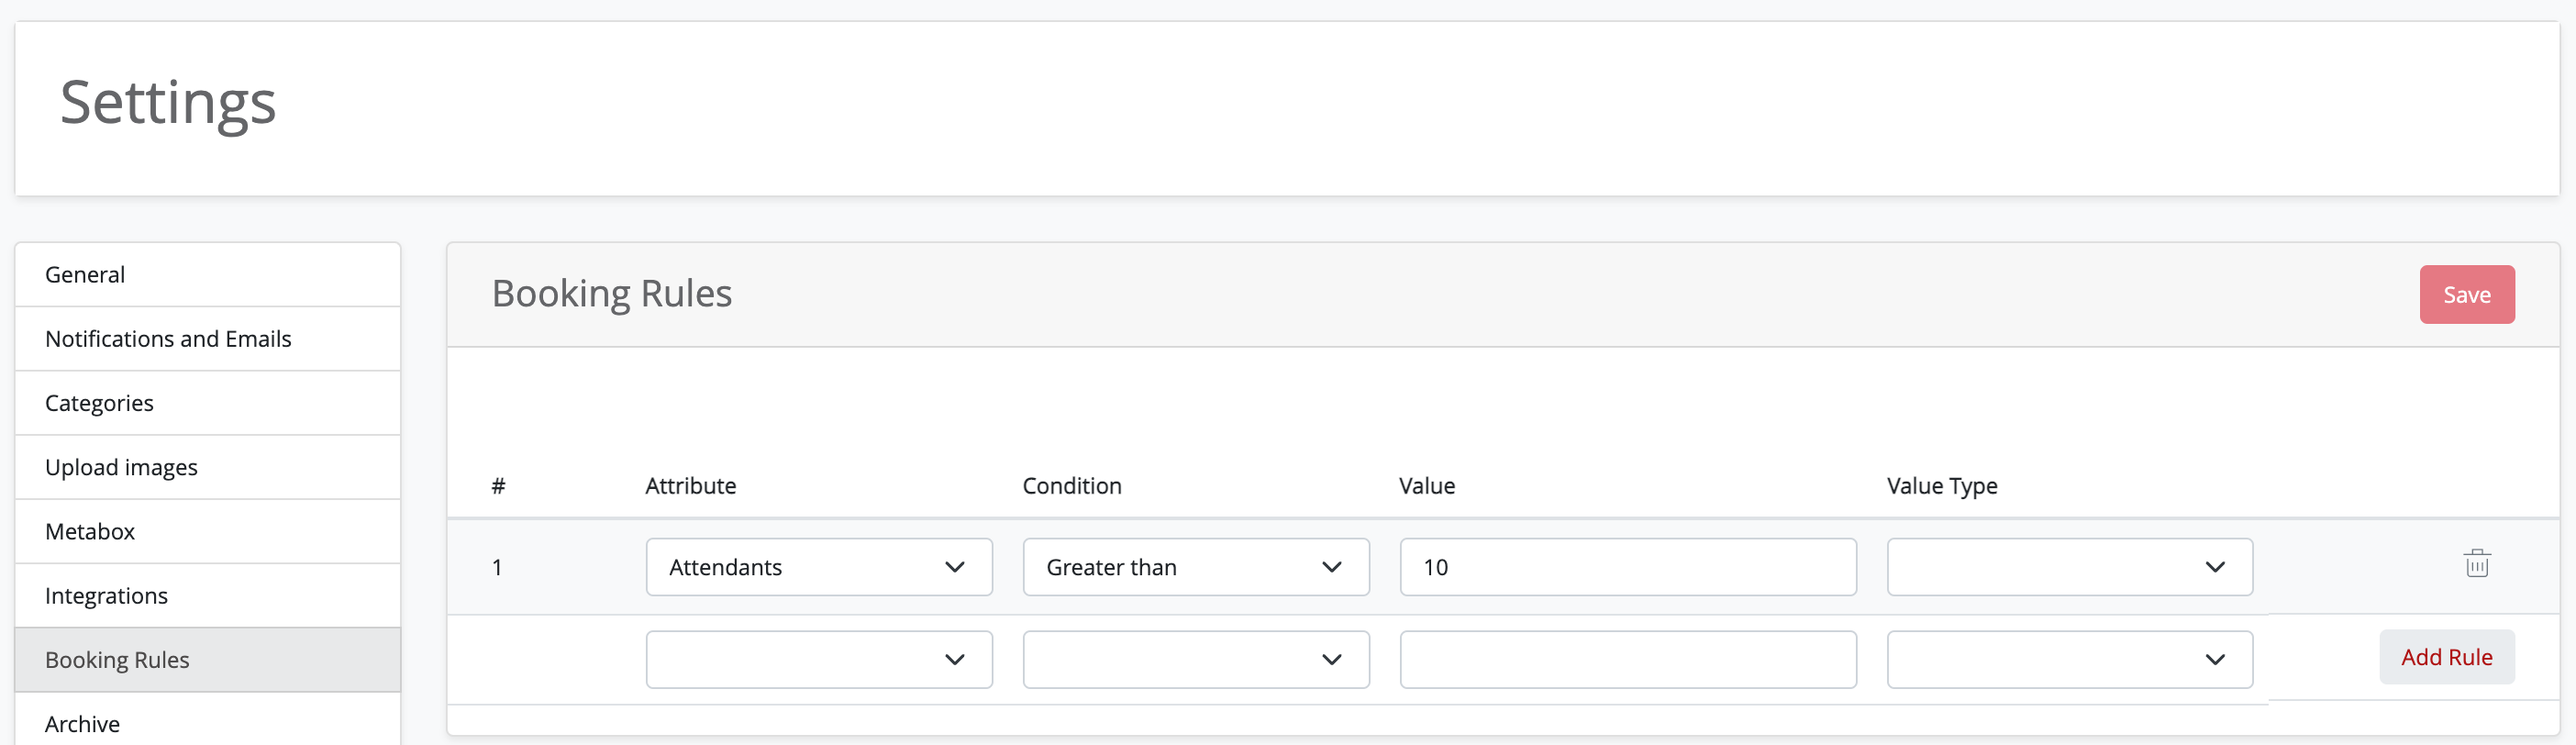
- Navigate to Settings.
- Select Booking Rules.
- Enter an Attribute, for example Attendants.
- Select a Condition, for example 20.
- Enter a value type (for time-based settings)
- Once all rules are set, select Save
For example:
- All reservations booked more than 2 days in the future must be set as a reservation request.
- All reservations with more than 30 attendees will be set as a reservation request.
More options will be added to Booking rules in the future.
Workflow
Once a user submits a reservation request, it will appear with a yellow marker in the planner overview. A location manager or admin can view all pending requests in the List view and either approve or cancel them. The reservation is made within Officebooking so even though the status is a request, the asset can’t be booked by another user. The reservation will become a reservation request, visible with a different color and style in the planner view. A location manager or admin can view all requests in the listview and approve or cancel the request.
- When approved: The request becomes a confirmed reservation. The user receives a confirmation email.
- When cancelled: The user receives a notification that the request was cancelled, and the request is removed from the reservation overview.