
1 Select your location
After logging in, you will be directed to the homepage, which shows an overview of all locations within the organization. Select the location where you want to make a reservation.
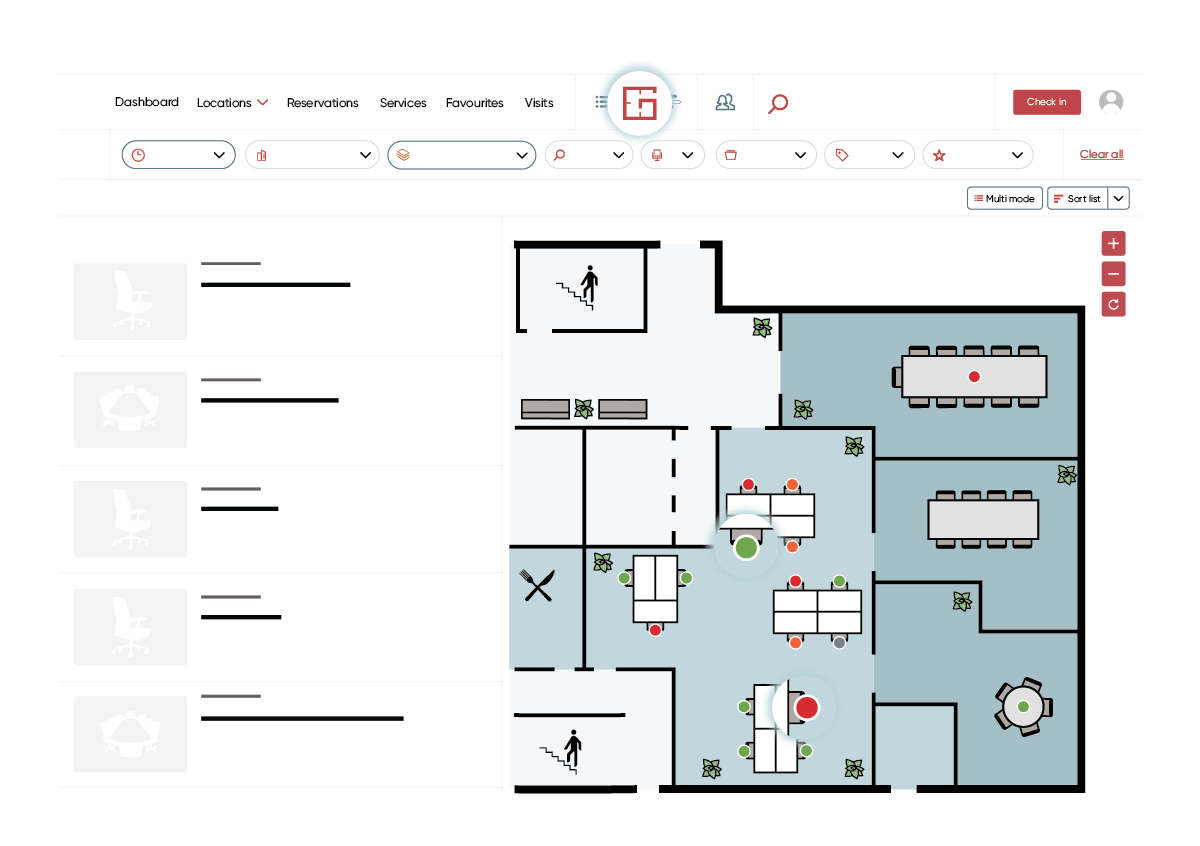
The location page has two different views: a list and a map view. Switching between the two views is done via the icons in the top right of the screen. You can set your preferred view within your personal profile. You also have the option to switch between different locations and floors.

Note: Do you always work at one location and want to make it easier to select your location? Then indicate in your 'General settings' what your preferred office location is. In some cases, your default office location is already set for certain clients.
2 Find the workspace/room/zone you want to reserve
In the web app, you can easily search for the workspace or room you want to reserve using the list or map view. Search by name of the workspace/room or select a date and time slot. You can recognize an available workspace/room by the green dot. Select the spot to see more information. Then select the red 'Reserve' button to confirm your reservation.
A zone is displayed differently than an individual workspace. The marker shows the remaining number of spots available. Reserving a workspace within a zone works the same as reserving an individual workspace up to the maximum number of available spots.
3 Fill in your reservation details
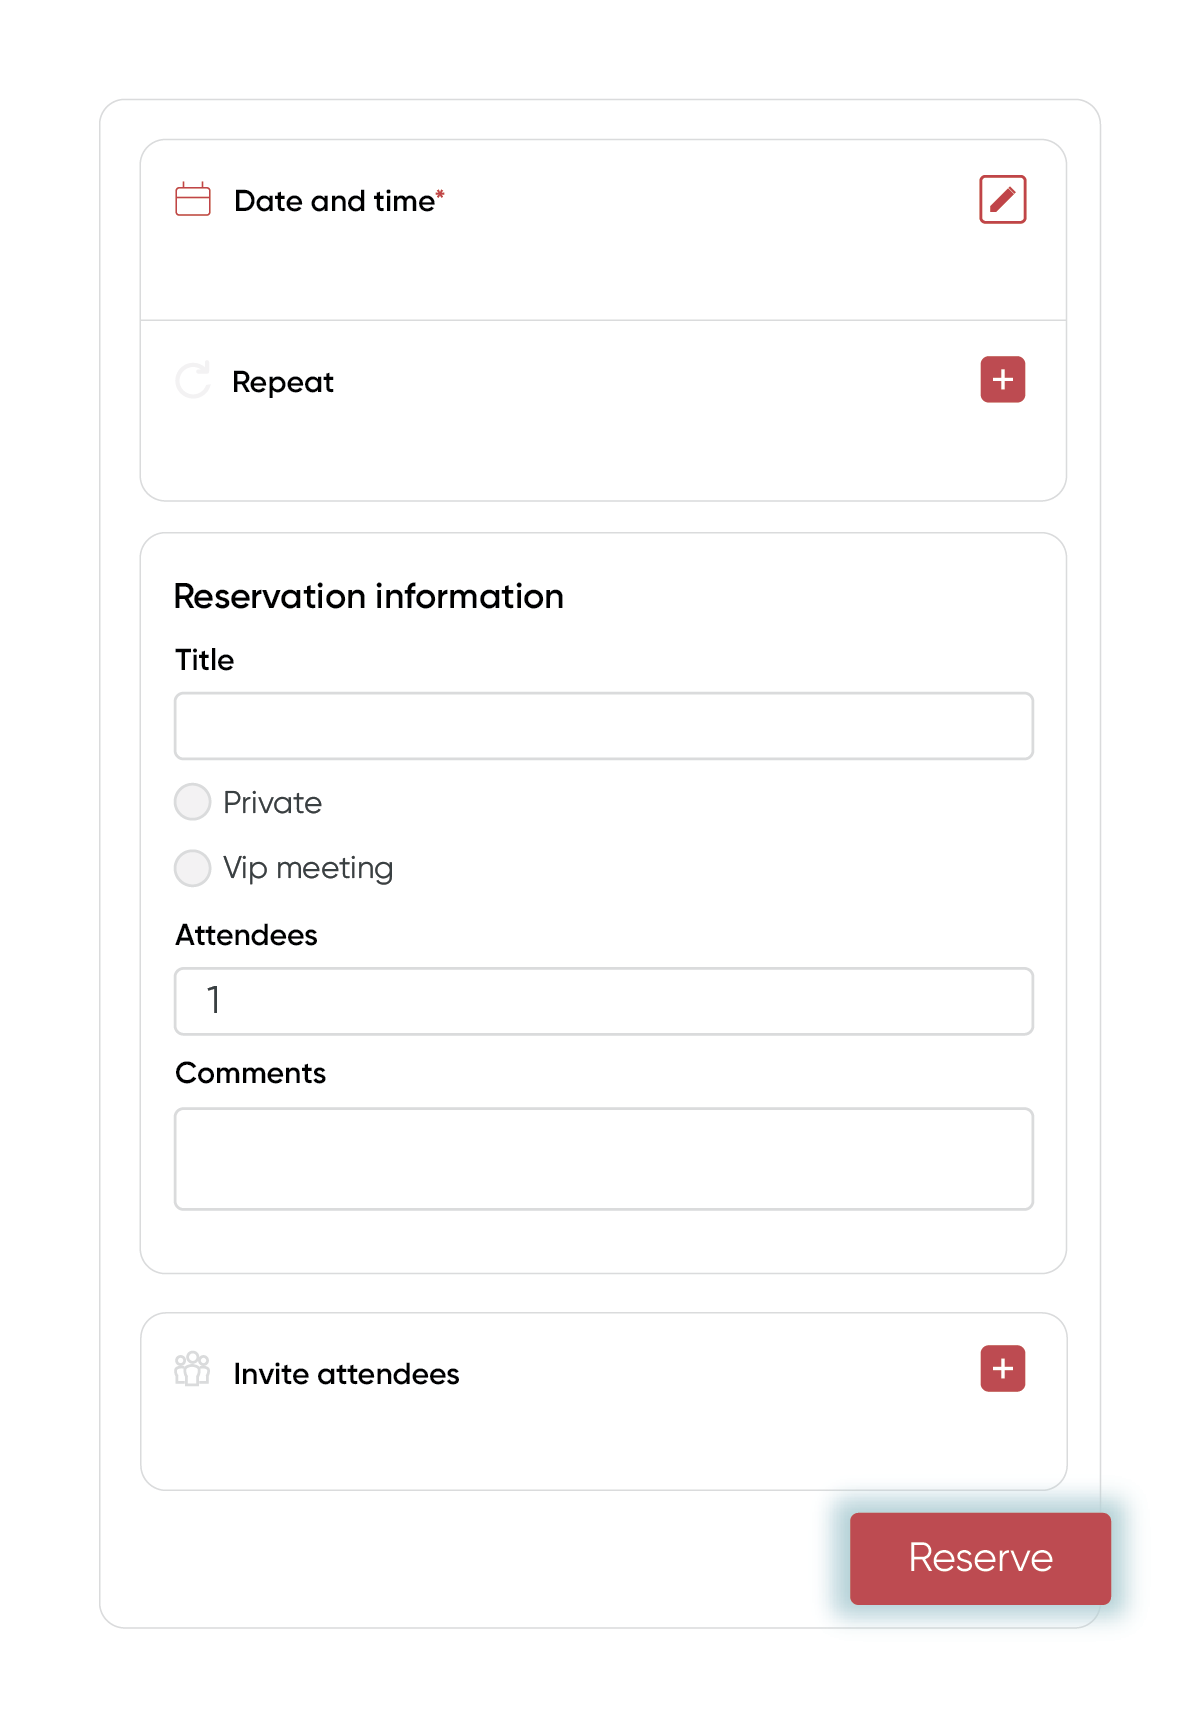
After selecting Reserve a pop-up will appear on your screen.
- Date and time: select the correct date and time of your reservation.
- Invite attendees: You can invite multiple attendees to your reservation. Check the box for 'Attendees' in the reservations menu. After filling in all the details, press 'Next' to invite the attendees. The attendees will receive an email with the reservation details. If the visitor registration module is set up for your organization, external participants will be registered as visitors.
- Repeat: If you want to make another reservation with the same information, but for example, a week later, select the 'Repeat' box. A pop-up will appear where you can set the frequency of the repeating reservation.
- Title: here you can give your reservation a title. This is not mandatory. If you leave the title field empty, the system will automatically fill in your first and last name as the title of the reservation. you can uncheck the 'Show title' box. This way, the reservation title will not be visible to others in the apps and on screens in the building.
- Comments: add a comment to your reservation for the Admin/location manager.
- Cost code: in some cases, there are costs associated with reserving a specific workspace/room. If this does not apply to your organization, you can leave this window blank.
- Services: in some rooms, you have the option to add extra services or catering to your reservation. Select these services and specify the desired amount.
4 You will receive a confirmation email
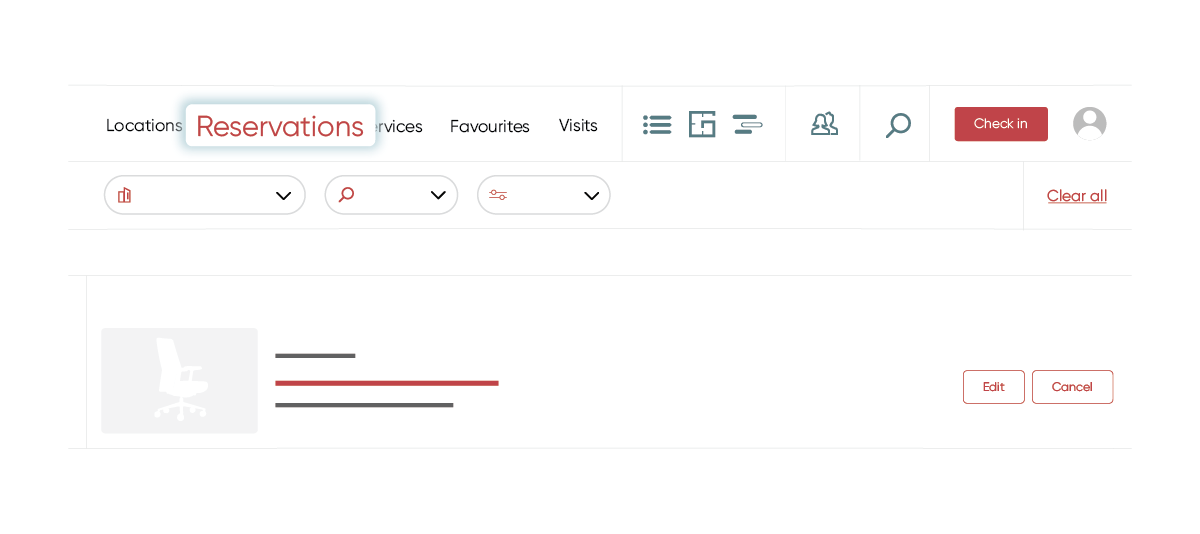
After saving your reservation you will immediately end up on the 'Reservations' screen. Here you get an overview of you reservations and you have the option to change, cancel or check in directly at the start of your reservation. You will also receive a confirmation email with all reservation details.
Problems with booking?
Are you unable to reserve an available workspace/room? Check the conditions of your organization. It may very well be that extra measures have been taken so that you can only book a few hours a day or a few times a week. It is possible that a certain workspace/room may only be reserved by a certain group of users. Please contact the Officebooking contact person within your organization.